Keyword: Next.js Screenshot API · Updated August 27, 2026
Next.js Screenshot API: Capture URLs with App Router
A Next.js product often needs a screenshot after a user adds a website, publishes a landing page, or opens a report. A browser library inside the application can work, but it also makes your deployment responsible for Chromium, fonts, memory, and concurrent browser sessions. A server-side Screenshot API integration gives your app one narrow job: authorize a request, send capture settings, and store or display the result.
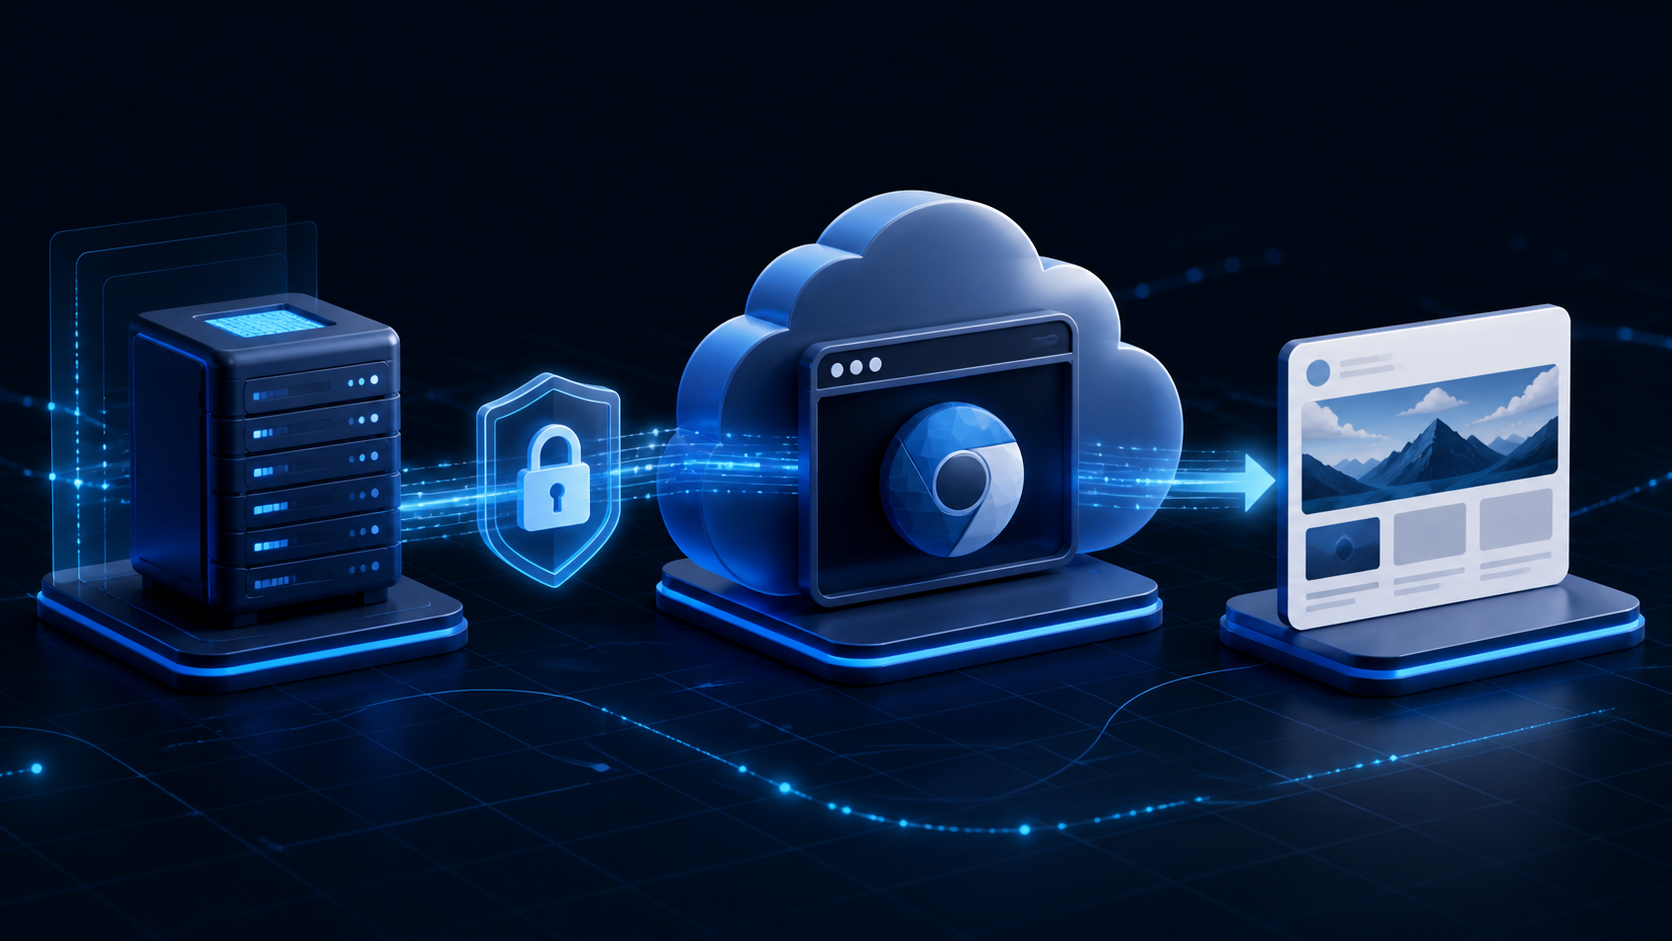
Why put screenshot capture behind a Next.js Route Handler?
The App Router uses file-system routing, and Next.js Route Handlers live in route.ts files under app. They use the standard Request and Response APIs and support POST requests, which fits an application endpoint that accepts a URL and returns a capture result. The official Route Handlers documentation confirms that POST handlers are dynamic rather than cached by default.
This subject has a current developer angle. Next.js 16 added new routing, caching, and agent-facing tooling, while the framework's documentation continues to make its server boundary explicit. The article addresses a distinct intent from our Open Graph image generation guide: that page explains social-card patterns; this guide builds a protected, reusable endpoint that captures any URL your product permits.
1. Keep configuration server-only
Add these values to .env.local. Do not use a NEXT_PUBLIC_ prefix for the API key. Next.js documents that values with that prefix are bundled into browser JavaScript; non-prefixed values remain available to the Node.js environment.
For an extra guard against accidental imports into a Client Component, add import 'server-only' to the module that reads the key. Next.js recommends that marker for code that must stay server-side.
2. Create a server-only SnapshotFlow client
Create lib/snapshotflow.ts. This example requests WebP output and asks for a hosted URL instead of passing image bytes through your Next.js function. The API accepts response_type=url; a successful response has a plain-text download URL.
The cache: 'no-store' option controls the Next.js fetch cache. It does not disable SnapshotFlow's own capture cache. For a forced new browser render, add cache: 'false' to the URLSearchParams sent to SnapshotFlow. Keep it enabled for repeated previews with the same URL and rendering options.
3. Add a validated App Router endpoint
Place this handler at app/api/website-preview/route.ts. It accepts JSON, permits only HTTP(S), and applies an optional allow-list. In a multi-tenant product, replace that simple list with the domains assigned to the current authorized account.
Expected behavior: your handler returns 201 and a screenshotUrl string when the capture succeeds. It returns 422 for a malformed or disallowed target, and 502 when the upstream request fails. SnapshotFlow validates destination URLs too and rejects private or loopback addresses; retain your own authorization and domain policy because it defines what your product may capture.
4. Call your endpoint from a client component
A client component sends the requested URL to your application endpoint. The API key never reaches the browser.
If your Content Security Policy restricts image sources, add the storage host that delivers your SnapshotFlow result before rendering it. If you use Next.js Image instead of <img>, configure the relevant remote image pattern for that host.
Operational advice for real preview workflows
| Workflow | SnapshotFlow choice | Why |
|---|---|---|
| CMS preview | response_type=url, WebP, cache on | The app stores or displays a small hosted result without proxying image bytes. |
| Post-deploy check | cache=false, fixed viewport | The request bypasses a prior capture and creates comparable evidence. |
| JavaScript dashboard | wait_for_selector | The browser waits for a known ready marker instead of an arbitrary sleep. |
- Authenticate your own route. The sample focuses on URL handling. Add your session and tenant check before creating a capture, then enforce a per-user rate limit.
- Use specific retry rules. A 400-level validation response will not improve on retry. Back off on 429 or temporary 5xx failures, and make the user-facing state visible.
- Handle authenticated targets with narrow credentials. SnapshotFlow supports cookies and custom headers for authorized pages. Use a dedicated, least-privileged session and see the authenticated page capture guide.
- Keep capture shape stable. Fix width, height, scale, full-page setting, and output format for each product use case. Read the responsive screenshot guide when one URL needs desktop and mobile evidence.
SnapshotFlow instructions: use the product from Next.js
- Create a SnapshotFlow account and get an API key from the dashboard.
- Add
SNAPSHOTFLOW_API_KEYandSNAPSHOTFLOW_API_BASE_URL=https://api.snapshotflow.comto your server environment. - Copy the server-only client and Route Handler above, then add the domain policy that matches your product.
- Send your UI to
POST /api/website-preview, display the returnedscreenshotUrl, and record failures in your normal application logs. - Choose
cache=falseonly when the workflow needs a fresh render. For larger batches or asynchronous delivery, use the batch capture guide or the webhook guide.
Sources and further reading
Capture inside your product boundary
Start with a server-only Route Handler, keep the API key out of the browser, and give each preview workflow an explicit URL policy.
Read the API docs