Screenshot API · Browser JavaScript · Updated
Screenshot API for JavaScript
The SnapshotFlow API is plain HTTP. From a browser you can call it with fetch or XMLHttpRequest - no npm package, no Puppeteer, no SDK import. You build a URL, send a GET (or POST for /batch), and read back image bytes or JSON. This page covers the browser-side pattern; for Node.js server code, use the Node.js SDK guide.
200 free screenshots for the lifetime of the account. Also available via cURL.
How the request works
Every capture is a request to https://api.snapshotflow.com/screenshot with a url query parameter and your API key in the X-Api-Key header. The response body is raw image bytes (PNG, JPEG, WebP) unless you ask for JSON with response_type=base64 or response_type=url.
X-Api-Key. The examples below use a placeholder key for clarity - same shape as our playground, which keeps the key in the browser only when the user pastes it themselves.
| Response shape | When to use it in the browser |
|---|---|
| Binary image (default) | fetch + res.blob() + URL.createObjectURL for an <img> preview. |
response_type=base64 | JSON with a data URL or base64 string - handy for canvas or LLM pipelines. |
response_type=url | Hosted download link you can pass straight to img.src without handling bytes. |
Capture with fetch()
Modern browsers - use fetch, check res.ok, then turn the body into a blob:
const params = new URLSearchParams({
  url: "https://example.com",
  full_page: "true",
  width: "1280",
});

const res = await fetch(`https://api.snapshotflow.com/screenshot?${params}`, {
  headers: { "X-Api-Key": YOUR_API_KEY },
});

if (!res.ok) {
  const err = await res.json().catch(() => ({}));
  throw new Error(err.message || res.statusText);
}

const blob = await res.blob();
const previewUrl = URL.createObjectURL(blob);
document.querySelector("#preview").src = previewUrl;
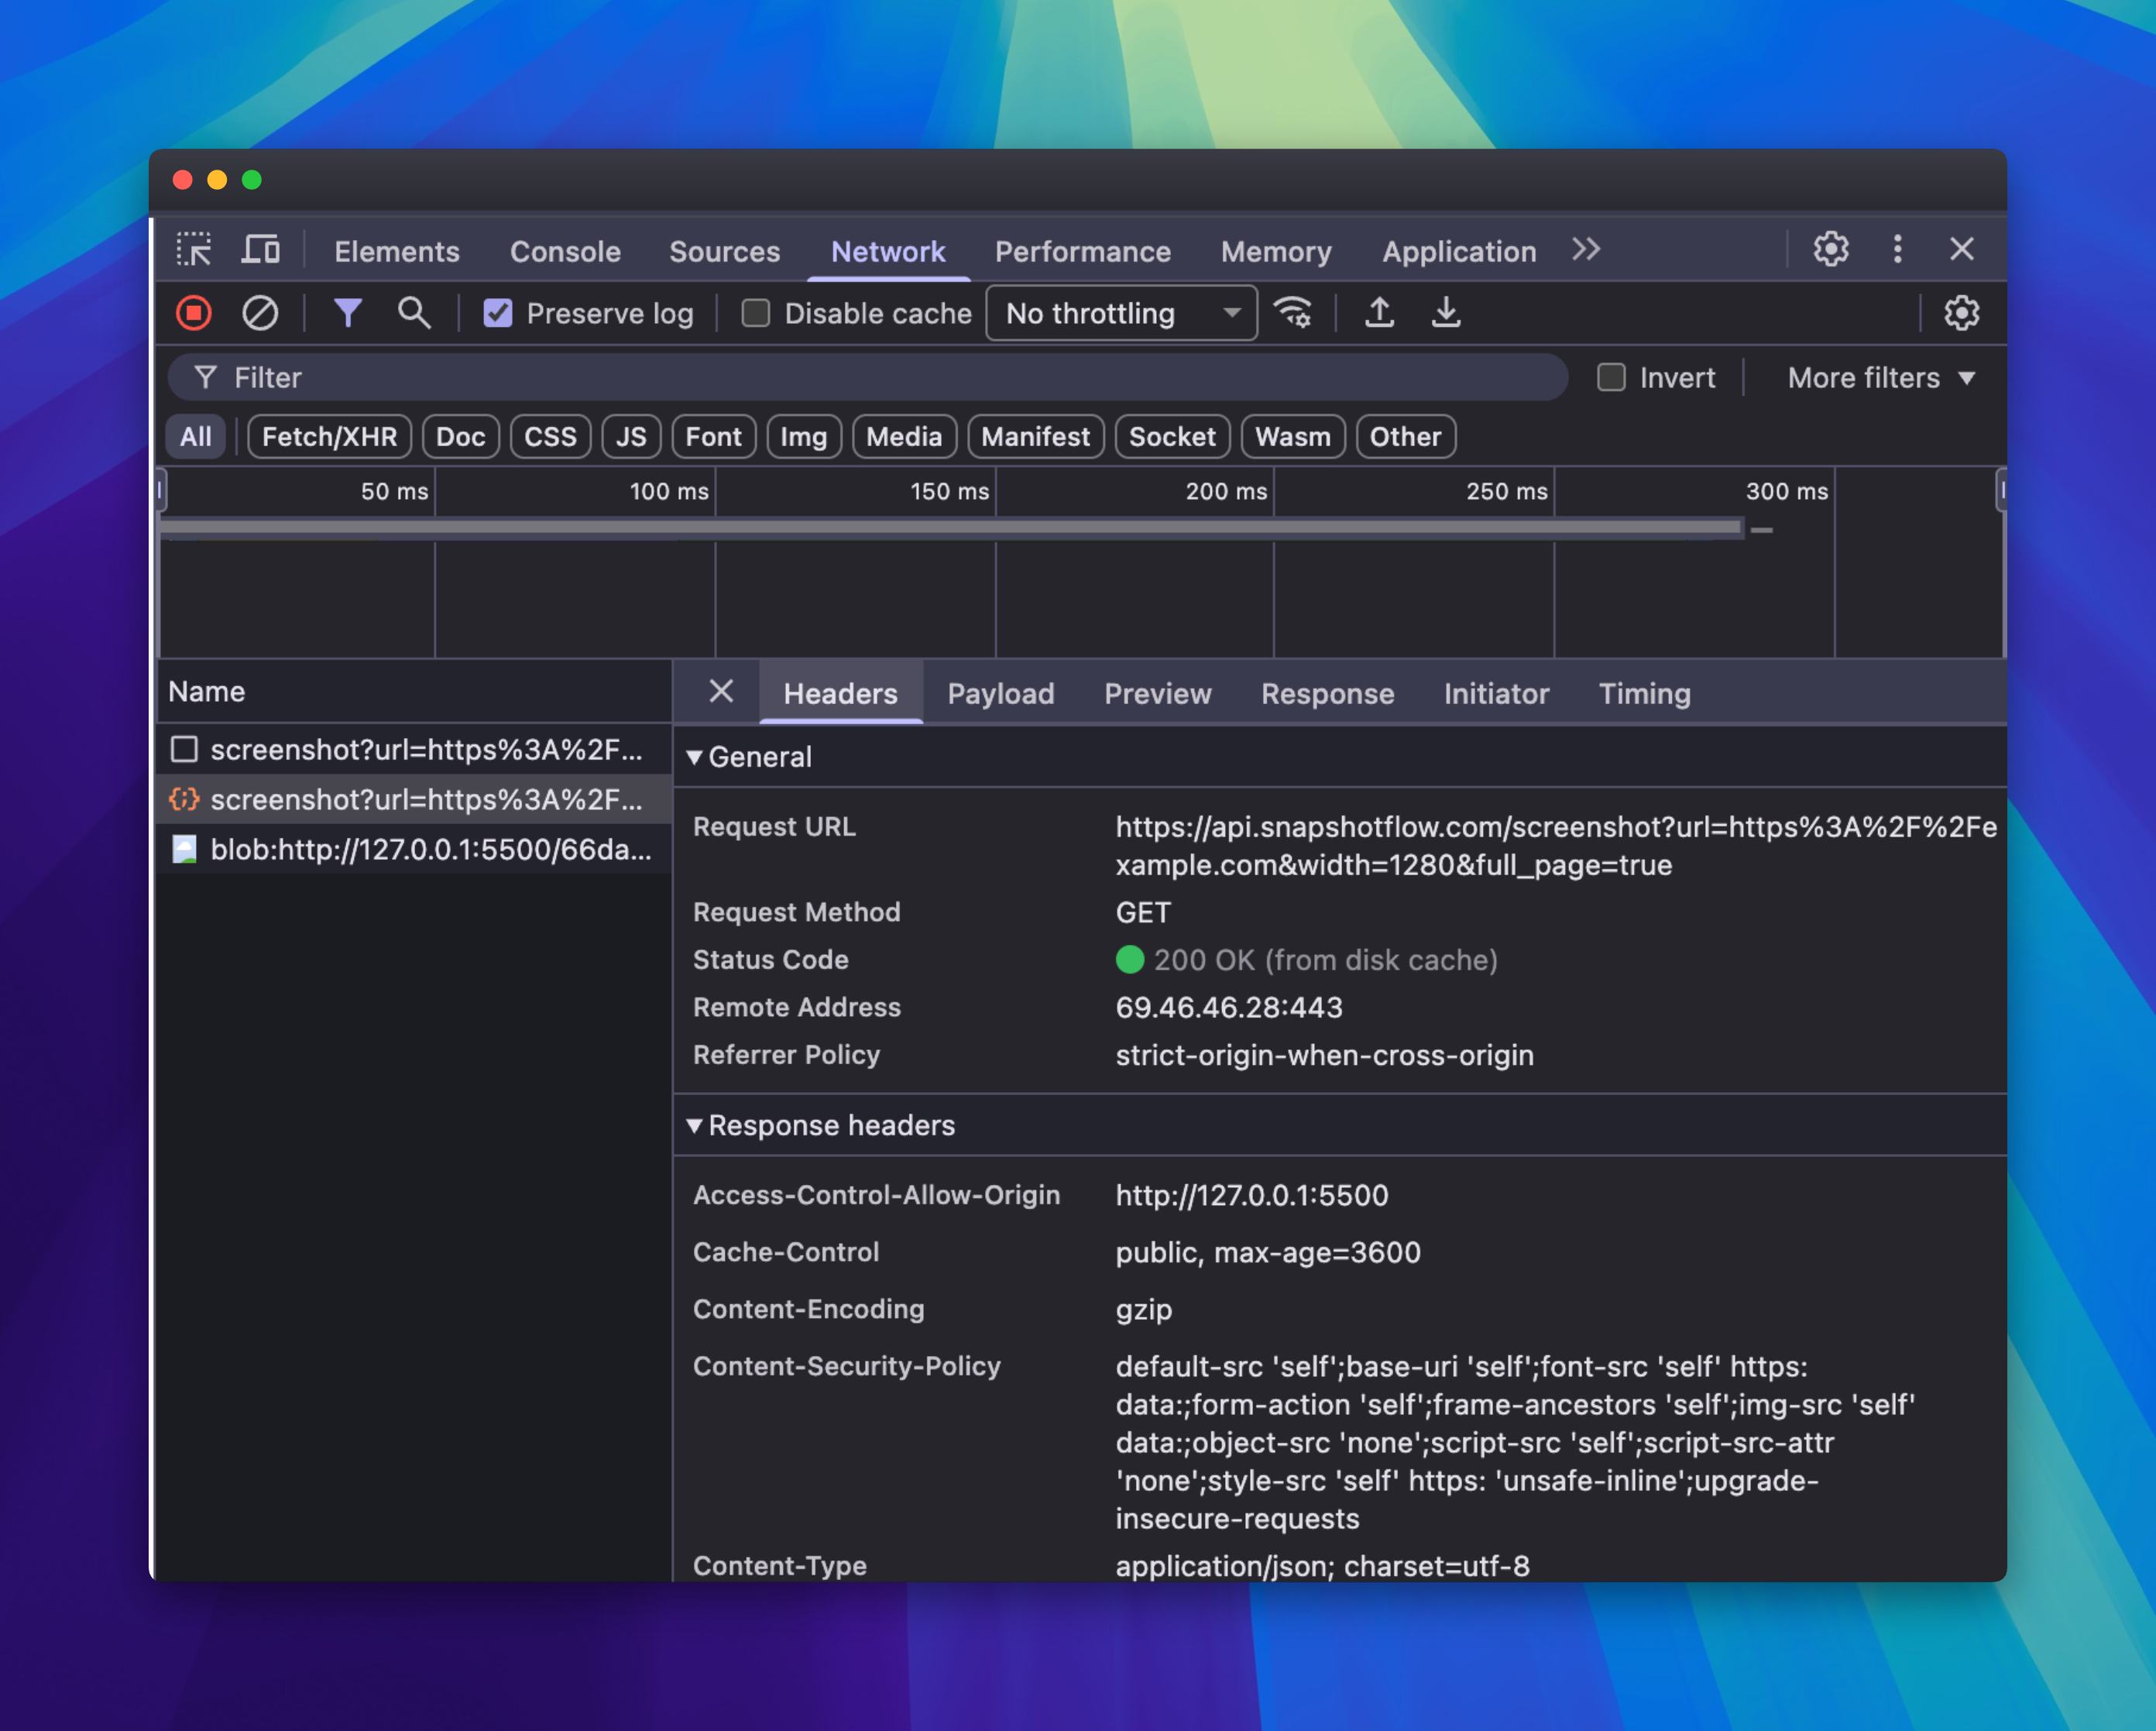
200 OK from /screenshot - check Content-Type to know whether the body is binary or JSON
Optional headers worth reading: X-Cache (hit/miss), ETag (for conditional requests), and X-Quota-* when you need remaining quota in UI.
Capture with XMLHttpRequest
Same endpoint, older API - useful in legacy codebases or environments without async/await. Set responseType to blob:
const xhr = new XMLHttpRequest();
const url = "https://api.snapshotflow.com/screenshot?url=" +
  encodeURIComponent("https://example.com") + "&full_page=true";

xhr.open("GET", url);
xhr.setRequestHeader("X-Api-Key", YOUR_API_KEY);
xhr.responseType = "blob";

xhr.onload = () => {
  if (xhr.status >= 400) return;
  const previewUrl = URL.createObjectURL(xhr.response);
  document.querySelector("#preview").src = previewUrl;
};

xhr.send();
Show the screenshot on the page
After you have a blob URL, wire it to an image element. Revoke the object URL when you replace the preview to avoid memory leaks:
const img = document.querySelector("#preview");
if (img.dataset.objectUrl) URL.revokeObjectURL(img.dataset.objectUrl);
img.src = previewUrl;
img.dataset.objectUrl = previewUrl;
Production pattern: backend proxy
In production, your frontend calls your API route. The server holds the SnapshotFlow key and forwards the request:
// Browser - no secret here
const res = await fetch("/api/screenshot?url=" + encodeURIComponent(pageUrl));
const blob = await res.blob();
Your server handler reads SNAPSHOTFLOW_API_KEY from env, calls api.snapshotflow.com, and streams the bytes back. That keeps quota under your control and the key out of bundled JS. Server-side Node code can use raw fetch or the snapshotflow npm package.